Office Signs Pro LLC :: A Guide to Vista Signs
 

A Guide to Vista Signs


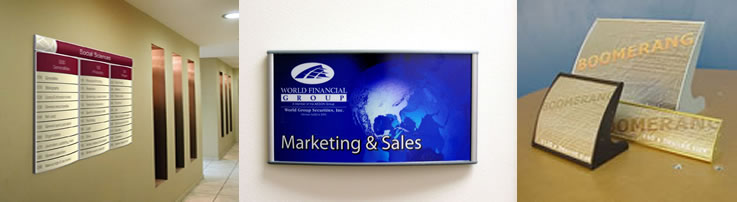
Vista signs system has a lot of advantages:

  • Lifetime Warranty
  • Great modern design
  • Easy to replace the graphics
  • Vandal resistant
  • Diverse models and infinite sized
  • It is certified Green

In this guide we want to direct you haw to choose, purchase, design and install your perfect sign system.

Step 1: Choosing your Signs

Under the tab Sign Types you can see different types of signs. You can read there on each type.

signs

Few things that needs to be determined at this stage:

  1. The orientation of the sign’s curve: do you want the curve to go left to right, with the end caps on top and bottom, or should the curve be top to bottom with the end caps on the sides? Those orientations are called Portrait and Landscape respectively. Note that the sign can be wide and short, what you normally call landscape, but it may be portrait because the curve goes to the sides.
  2. The color of the sign frame. Most people choose brushed aluminum, but you can also choose gold or black. Read here about Sign Frames.
  3. Decide which end caps you want: You can have metal or plastic and the come in different colors. You can find here more data about end caps.
  4. Do you need ADA lens? We can replace the clear cover with a special cover that has Braille characters and raised letters, according to the ADA guidelines. We have on the website data about the ADA fonts, letters legibility (the size of the font in relation to the distance) and how to determine the size of your ADA sign.

Step 2: Selecting the Sign You Want For the Store

Click on the Online Store tab and there you can find the sign types laid out. Each category contains the most common sizes of signs but we cut the sign according to your needs (nothing is pre-cut, all is custom) so if you don’t find there what you want, contact us and we will price it for you.

When you’ve chosen the sign you can modify your selection with the frame color, end cap and other parameters.

Step 3: Purchasing the Signs


In case you know exactly what you want and you found it in the store, you can go ahead to checkout and pay for the signs using your own credit card, Goggle Checkout or PayPal.

If you didn’t find what you want or have a special need, you can request a quote.

signs

Step 4: Preparing the Graphics

This is where Vista’s advantage plays its role.
Read here about preparing the graphics yourself.
Place the paper insert on your sign below the clear cover choosing the matt or shiney surface. Note that the clear cover has protective sheets from both sides, peel both of them before putting it back in place.

Step 5: Installing the Sign

Learn here the different methods to install your signs.